- "How can I set up my general ledger codes?"
- "Why does nothing show up when I run the General Ledger report?"
Resolution Steps
Note: This will only apply to transactions moving forward. If you'd like to back-track GL codes to previous transactions please reach out to support.
- Go to Admin Settings -> GL Codes - This section allows you to create/edit the GL codes that will be used across all sections of Molo, similar to a Chart of Accounts you may be familiar with for your accounting software.
- GL Code Parameters
Each GL Code has 4 parameters, with the behavior described below:
- Name - This is the name of the GL account, for example "Fuel Sales"
- Code - This is the code of the GL account, for example "4100"
- Type - The type of account, for example "Current Asset", "Revenue", "Cost of Goods Sold", etc.
- Default Tracking Code [Optional] - If you are using tracking codes, this will be the default Tracking Code assigned when that GL code is selected for use. The default Tracking Code is just a suggestion to aid end users when adding/editing inventory items, and can be changed or removed.

- GL Code Parameters
- Admin -> Tracking Codes (optional) - This section allows you to configure optional Tracking Codes that can be used in combination with GL Codes to allow additional granularity under each GL Code. This is often used with REIT business structures to separate OpCo and PropCo categories.
- Admin -> GL Settings - Some system-level GL codes will be set under the GL Settings section. These include codes for categories such as your AR, Payments, Discounts, and Taxes GL codes.
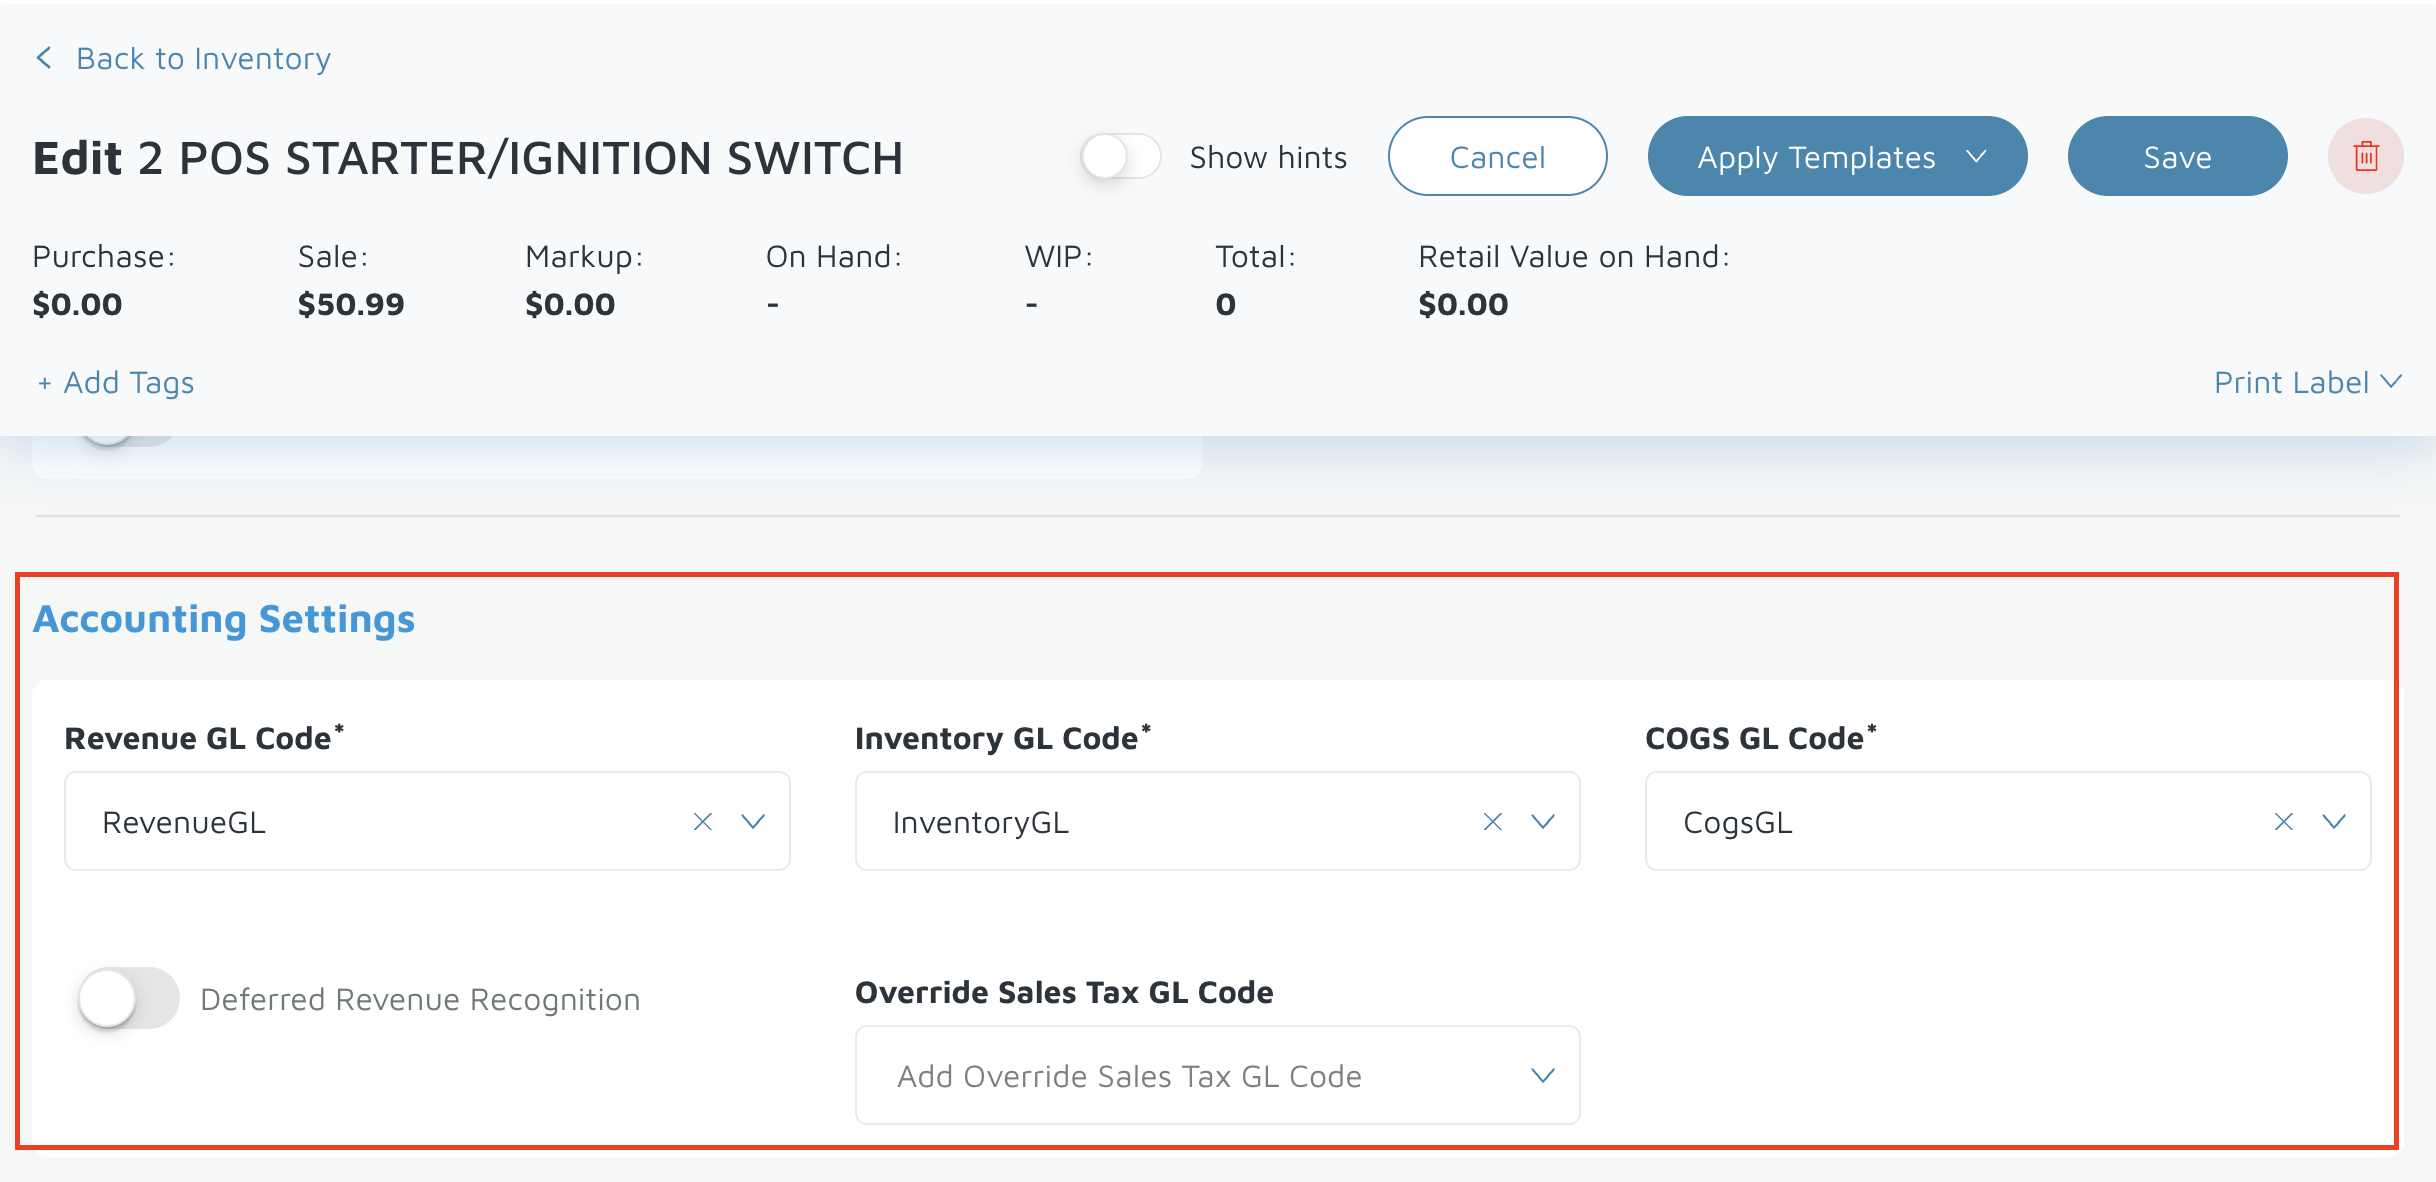
- Admin -> Inventory -> Items - You will go into each item and set its GL code under the Accounting Settings section.
Verification: Once complete, you should be able to run the General Ledger report the next day to see data populate.